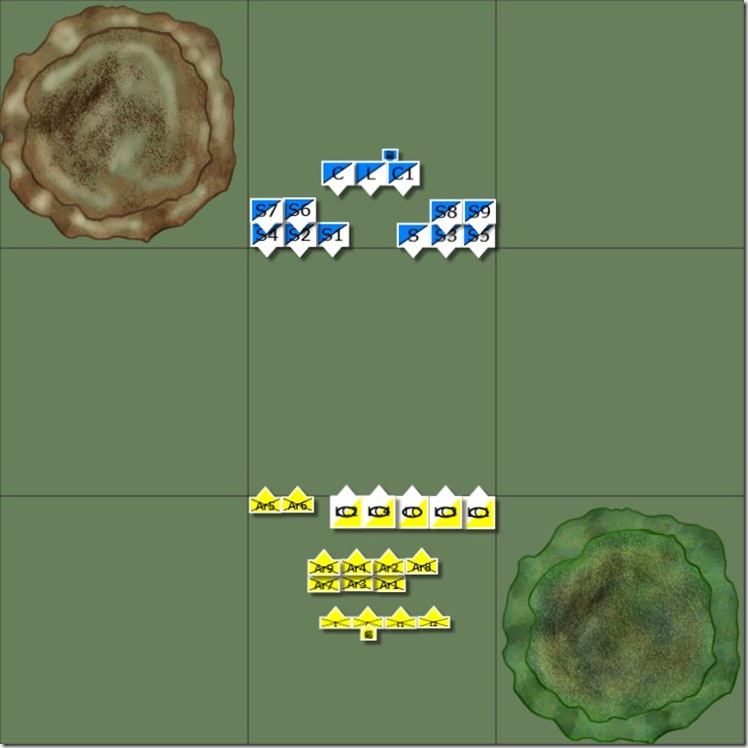
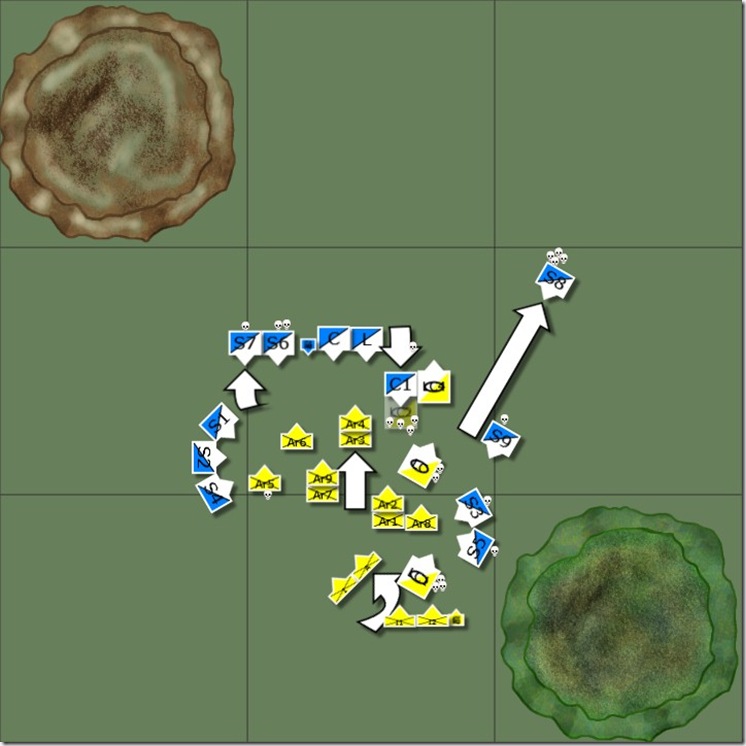
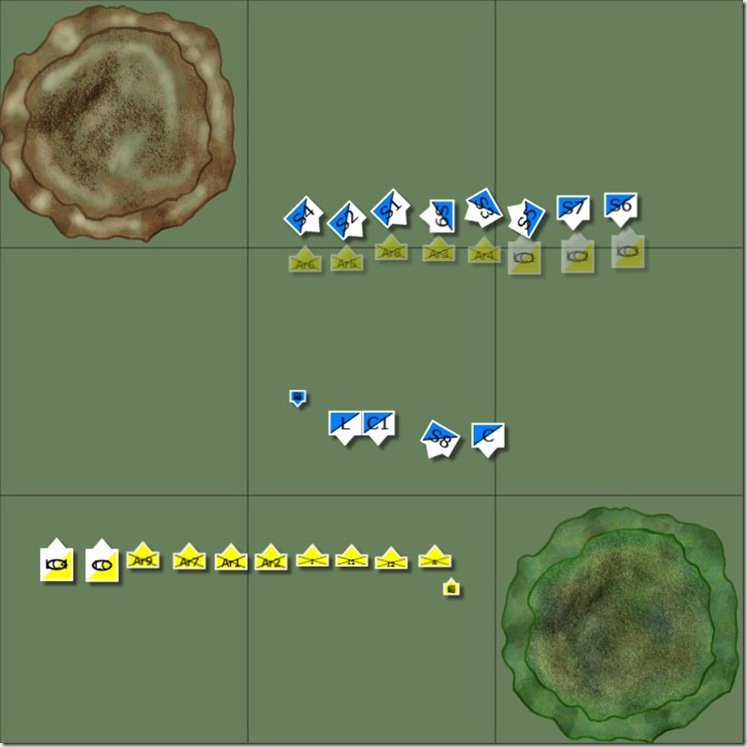
I have joined in the Talomir campaign found here. This is my first proper game of RRTK so I managed to make a couple of mistakes and forgot a few things. This game is played on a 3’ x 3’ map and all tokens are to scale. I played it Solo with the mechanics playing both sides as necessary. I did choose movement distance but this was based on the tactics each army used for the battle. The small blue and yellow markers are the magic users for each army and I had placed them there just to remind myself that they were being used. Later they would reveal themselves and then would be attached to the unit they were next to.
The armies consisted of the following units
Mangu –Blue & White (based on historical Mongol army)
S – skirmish cavalry
C- cavalry
L- lancers attached is the General Aluminium Khan
MU – magic user
Stygustan – Yellow & White (based on historical Egyptian army)
LC – light chariots
Ar – archers
I – infantry
A – axemen attached is the General Warththestep
MU- magic users
Deployment
Due to the large number of Mangu skirmishing cavalry, they outscouted the Stygustans 26 - 10 and this would force them to place 6 units for every 3 of the Mangu. As the Stygustan were invading Mangu, they would move first. The table top would be mostly open. The Mangu would use the Double Envelopment tactic, while the Stygustans would employ the encircle flank tactic and setup was determined by these tactics.
Turn 1 - Stygustan
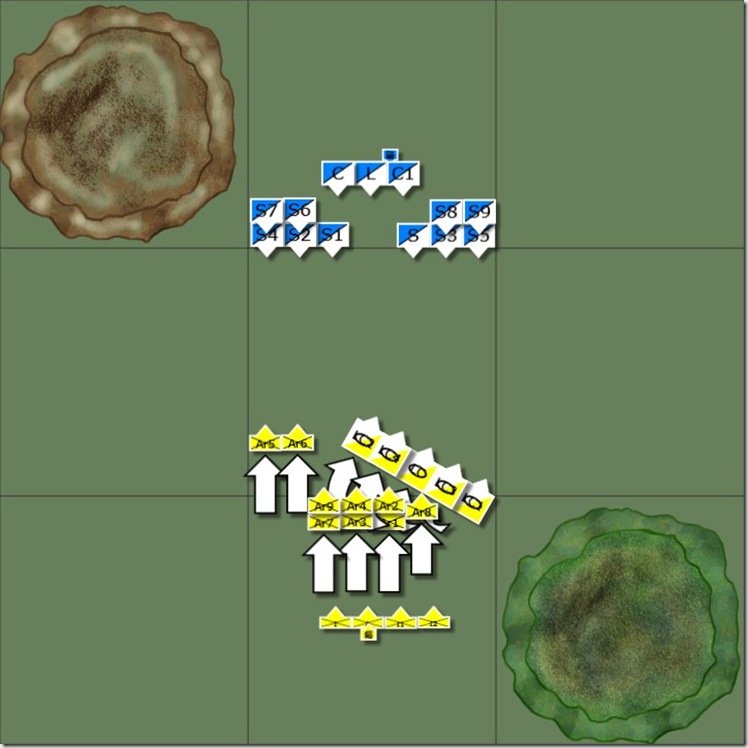
The chariots wheel right, ready to attack the flank next turn, while the archers move slowly up the centre.
Turn 1 - Mangu
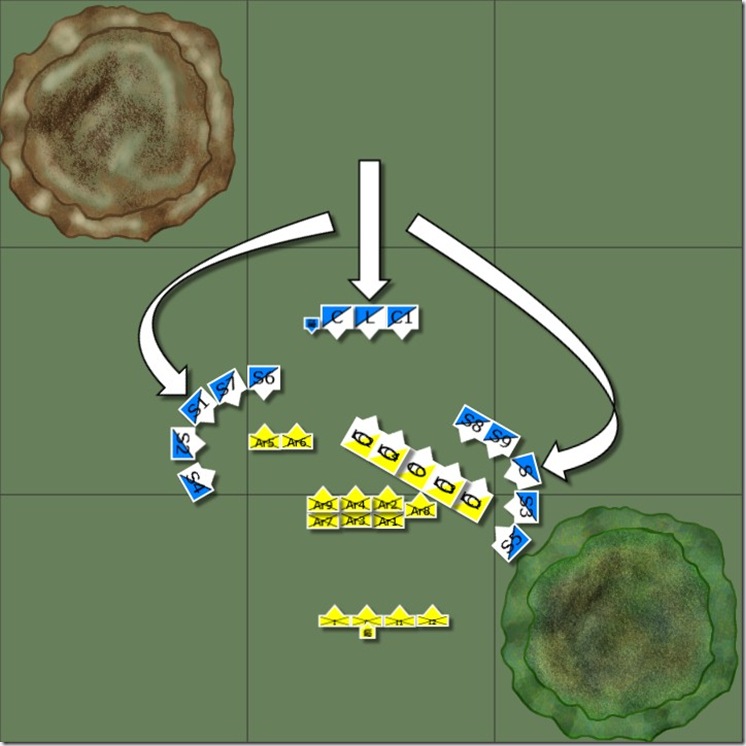
The skirmish cavalry move up on both flanks and prepare to fire at the archers and light chariots while the lancers and cavalry move up the centre. Not-tu Nite (the magic user) reveals herself and prepares to cast Fog of War. She targets her lover and general Aluminium Khan but is unsuccessful as she feels a headache coming on. Luckily for Khan, he has asprin on hand and is able to keep her in the battle for a little while longer. Unfortunately she uses up 5 out of her 10 magic points.
Turn 2 – Stygustan
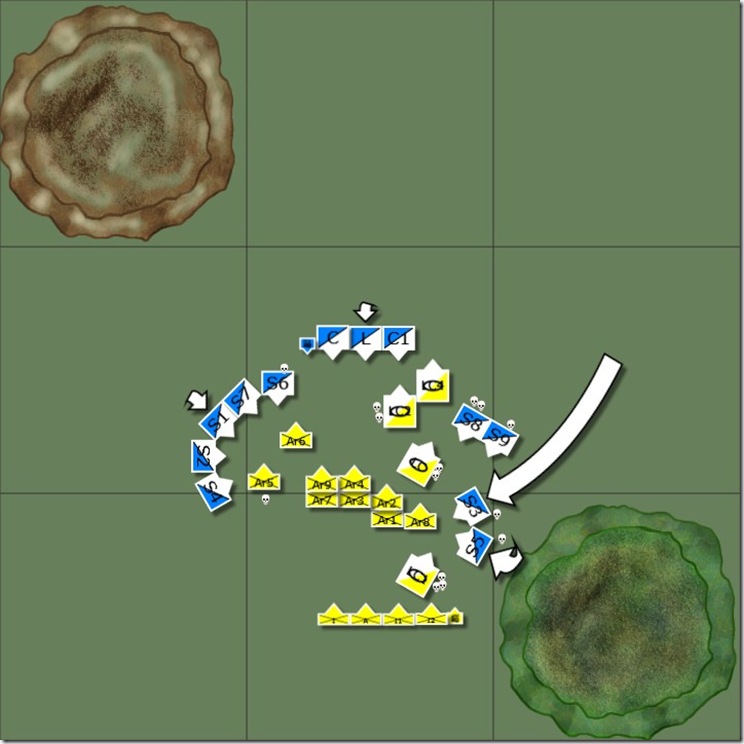
Wartchthestep surveyed the battlefield and feels claustrophobic. The chariots activate and either fire at the skirmishing cavalry or move into position to fire at C1. The shots result in 1 hit on S9 and 2 hits on S8. Their reactions are to return fire hitting Light chariot 1 for 1 hit and then causing it to retire taking another hit. Unfortunately it contacts I1 and takes another hit. LC3 fares even worse - it takes 1 hit from return fire and in an appalling show of courage it routs from the battle. The infantry block containing Wartchthestep remains stationary to 'reinforce' any holes that appear. He then commands his sorcerers to assist and they then prepare to cast blast at S5 and S3. Not-tu Nite detects the spell but is unable to prevent it from being cast. S5 takes 1 hit but is unable to return fire as it is does not LOS to the sorcerers. S3 retires away from them but as this then causes them to retire through S, S routs and S3 continues on. The archers move forward slightly while Ar1, 2 and 8 halt due to the chariot. Ar5 shoots at S6 causing 1 hit for no hits in return but they do retire and then take 1 hit.
Turn 2 – Mangu
Aluminium Khan smiled to himself. His skirmish units had performed admirably. They had bottlenecked the Stygustans and had caused confusion within their battle lines. His skirmishers on his right repositioned themselves to attack the archers. C1 is ordered to charge LC2 and causes it to retire and take a hit as a result LC2 contacted LC and took another hit. Not-tu Nite had to wash her hair and as a result was unable to cast any magic this turn. S8 shot at LC and caused it to retire taking 1 hit and then a second as it contacted Ar2. The final movement of the turn was S3 & S5 moved into position to fire next turn.
Turn 3 – Stygustan
Wartchthestep looked around and saw that his front battle line was splintering apart and as a result he could not bring to bear his massed fire power. LC2 shot at C1 causing 1 hit and C1 then proceeded to advance 1/2 move and charged LC2. LC2 then proceeded to retire, taking 1 hit, take another hit as it contacted LC and then was pursued by C1 (having just discovered the rule) and routed. LC then fired on S8 causing 1 hit and forcing it to retire. Warcththestep prodded his sorcerers in to casting a spell but they were unsuccessful in summoning a hero.
LC1 could not shoot as S5 was out of arc and Ar8 blocked the shot on S3. Ar8 couldn't move as LC stopped it moving forward, it couldn't wheel without hitting Ar1 and as it had halted due to friendly troops in the road it couldn't turn to face S3 (assuming that I have done this correctly). Ar3 & 4 continued to move forward while Ar6 shot at S6 and Ar5 shot at S7. Both S6 and S7 retired taking another hit each.
Turn 3 – Mangu
Khan still felt positively about how the battle was proceeding but his skirmishers were starting to be worn down. S1, S2 & S3 fired at Ar5 and caused 3 hits and routed from the battle. Not-to Nite managed to cast despair on to Ar4 dropping their rep by 1 and then Khan gave the order to charge with both his lancers and the attending cavalry unit. Ar4 stood and shot causing a hit on the lancers and an arrow lodged in the helm of Khan, just narrowly missing the eye slit and bouncing harmlessly off. With lances raised and sabres rattling the cavalry cause 4 hits on Ar4 while Ar4 managed to hit C for 1 point.
Turn 4 – Stygustan
Things were looking grim for the Stygustan army and Wartchthestep knew it. The turned opened up with LC1 shooting at S3 hitting once S3 then returned fire also for 1 hit routing LC1. LC4 wheeled left. LC wheeled to get in to firing arc on S9. Ar1 not wanting to suffer the same fate, expanded out from behind Ar2. Wartchthestep wheeled to the left and advanced as fast as he could. Ar6 fired upon C generating 1 hit causing C to charge and routing Ar6.
Turn 4 - Mangu
S1, S2 & S4 reformed. Khan, his lancers and C1 formed up the line with C. S9 fired at LC hitting once and causing it to retire taking another hit and then a third hit as they retired in to Ar9.
Turn 5 – Stygustan
'Curse those skirmishers to the lowest level of Hell!' spat Watchthestep. The battle had been lost and now it was time to withdraw from the field. The invasion of Mangu had faltered but by conserving the army as much as possible, there would be at least a next time.
Now it was time to determine the major pursuit and casualty recovery. In the end 4 archers were not recovered.
At this point I felt the game had gone to Mangu and that as the game is part of a campaign, that the Stygustans would retreat to minimise the loses that will carry over and reduce their army composition.
